Vident i400AU: Everything You Need To Know Before Receiving Your Unit
Date Posted:8 November 2023
When receiving your Vident iLink400AU Single Make you’ll need to:
- Register for a Vident account
- Download iScanZilla (Vident’s program for downloads/updates)
- Register your scan tool (using the serial number and password in the enclosed slip of paper)
- Select your 1 free car make
Check out our easy to follow step by step guide below…
1. Remove SD Card From Scan Tool and Insert Into Card Reader
Take the SD card out of the scan tool and insert into the card reader (USB stick), insert the USB stick into your computer.
*Note - iScanZilla can be downloaded to WINDOWS COMPUTERS ONLY*
2. Register/Create a Vident Account
Register for an account directly via the Vident website here: https://www.videnttech.com/register/step_two.html
Input all details as per below and hit the 'Submit' button.
.png)
Go to your email inbox to validate the account registration - if not in your inbox please check spam/junk folder.
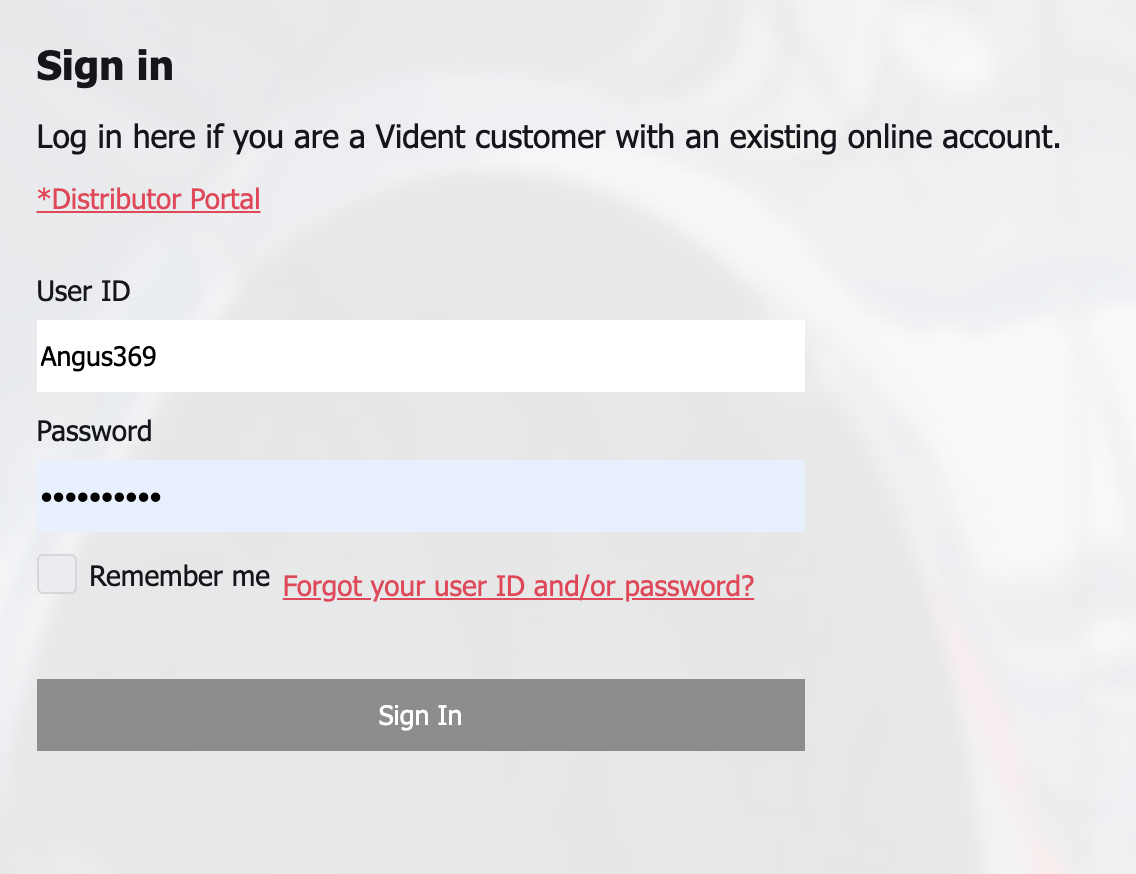
Log in to the Vident website here with your User ID and password you just set up to validate your credentials.
3. Download, Extract and Install iScanZilla to Your Computer
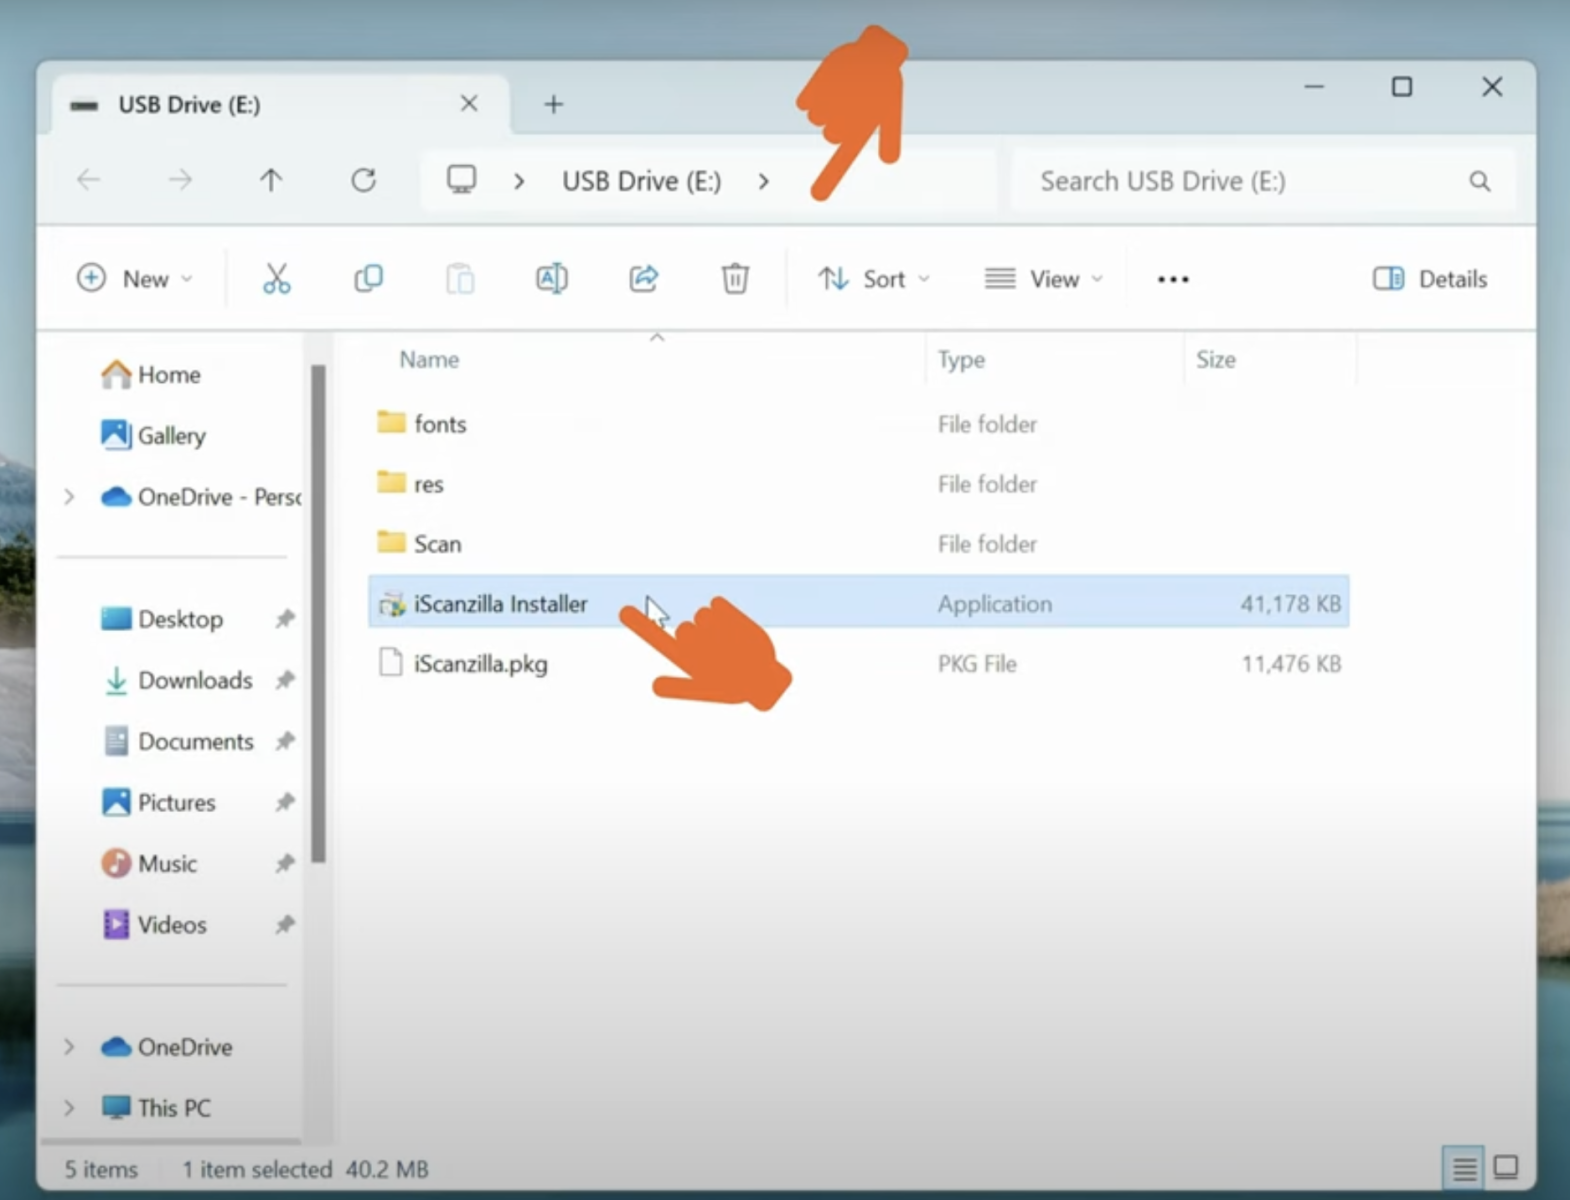
Run iScanzilla Installer file which should be accessible via the TF Card folder on your computer.
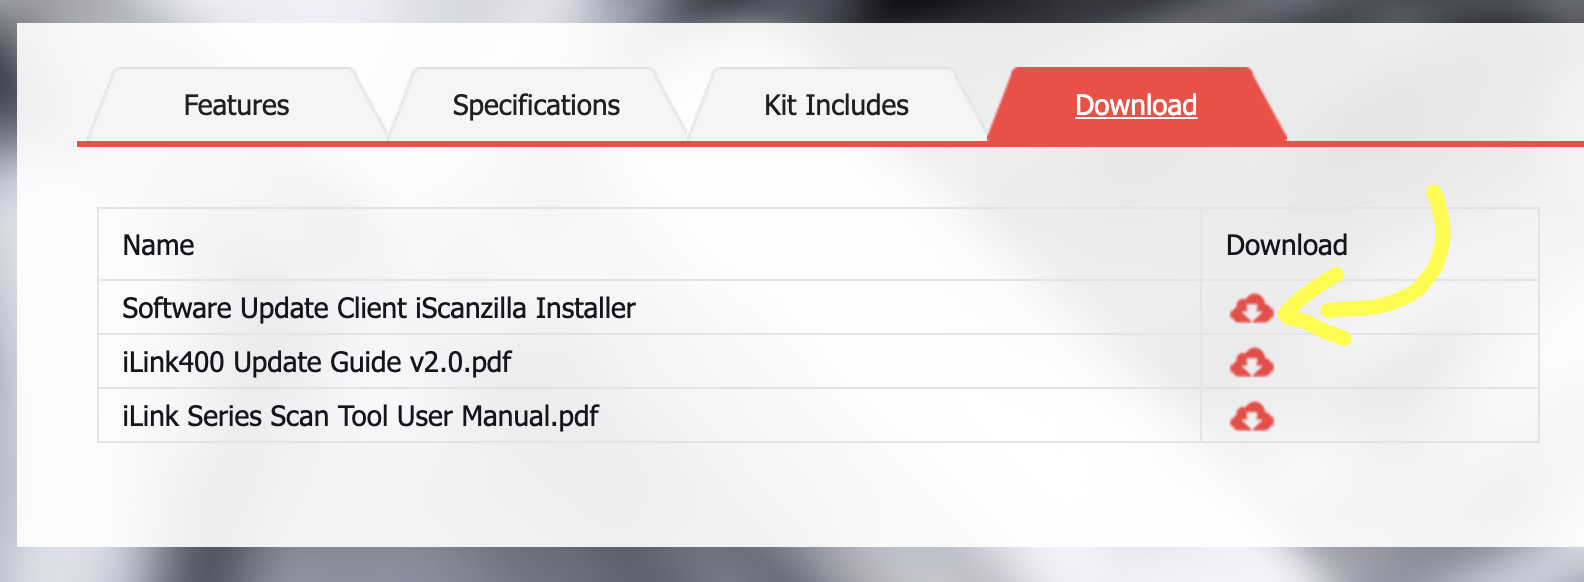
If iScanZilla installer file is not already on the SD card, please download here: http://www.videnttech.com/product/item-79.html
*Navigate to the downloads tab and hit the 'Software Update Client iScanZilla Installer'
Extract the file and run the extracted iScanZilla installer file.
4. Run iScanZilla Application and Log In
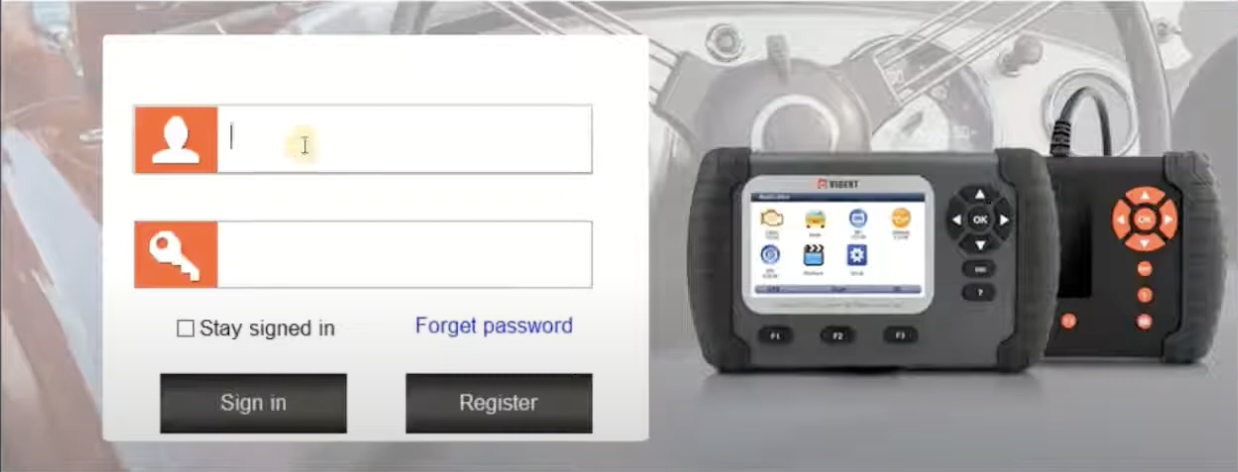
Once iScanZilla has been installed, run the application, you should be presented with a log in screen as per below - log in with the credentials you setup when registering for an account.
5. Register Your Scan Tool and Download Your 1 Free Car Make Software
Once logged in, navigate to the Register products section and enter the serial number and password on the slip of paper that came inside of the box.
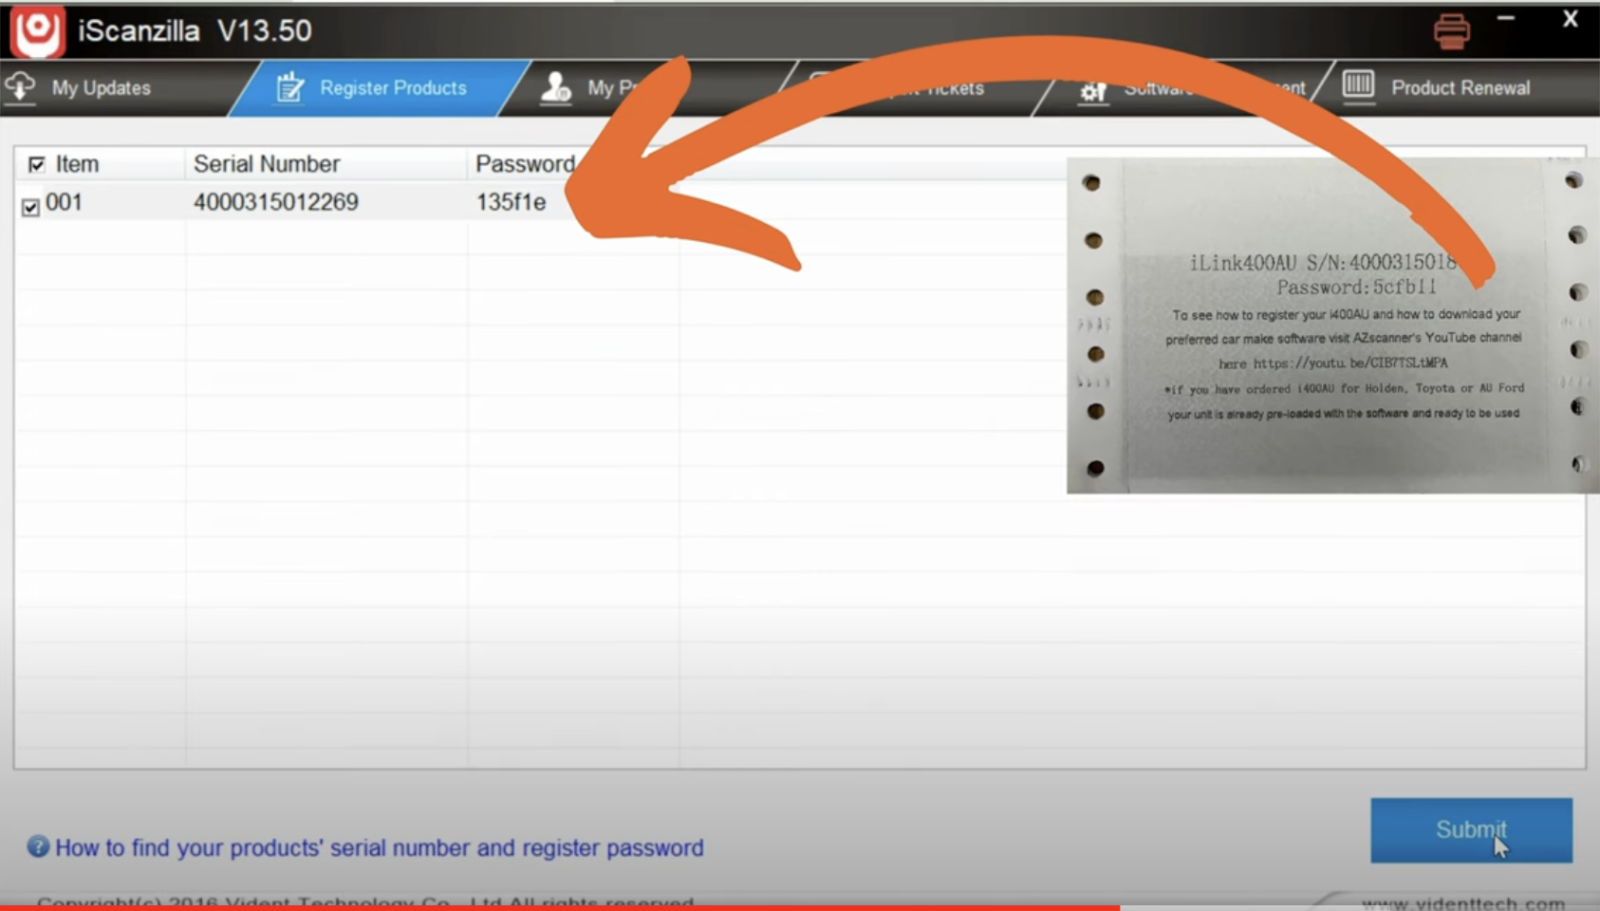
Nevigate to the 'My Updates' tab to download your prefered car make software.
*If no softwares are showing then hit the 'Refresh' button.
*Be sure you've selected the SD card and serial number from the drop down boxes at the bottom
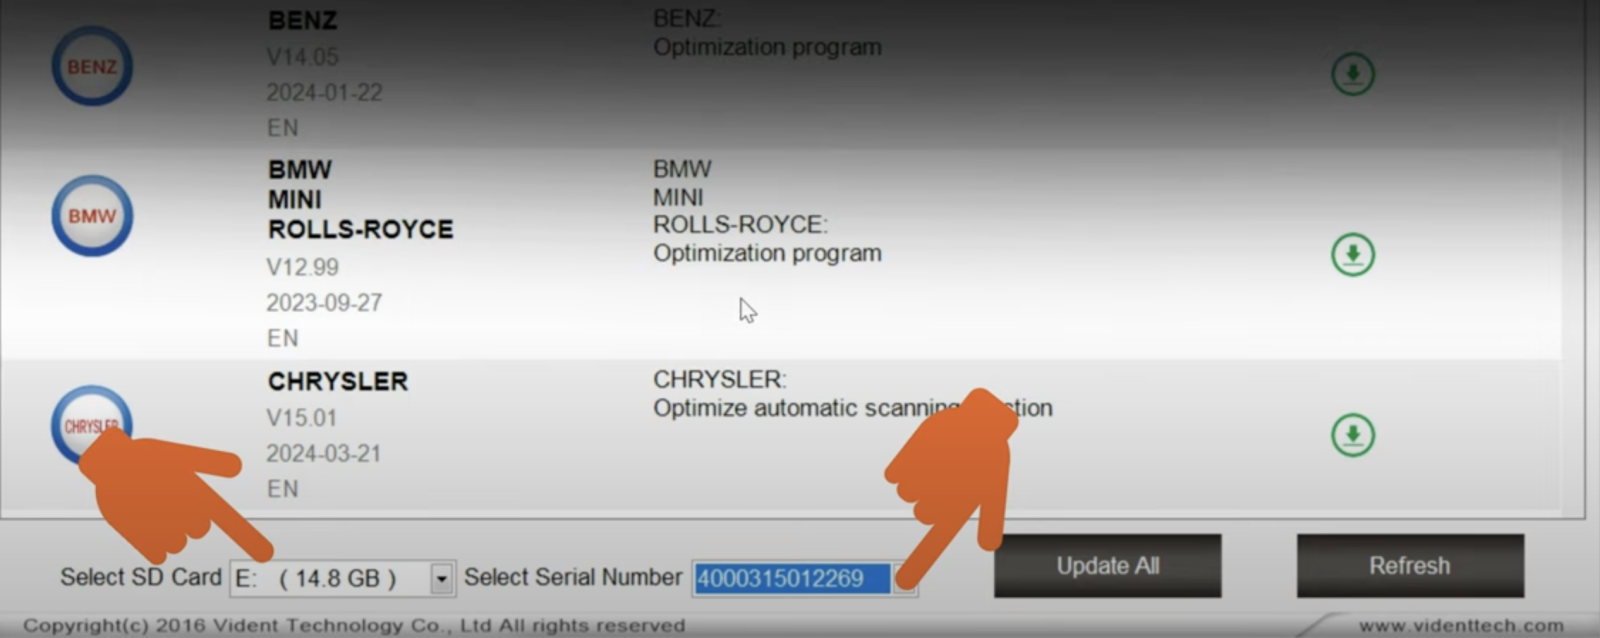
Click on the download button of your desired car make software.
If there are any other available updates in the 'My Updates' section please feel free to download them too.
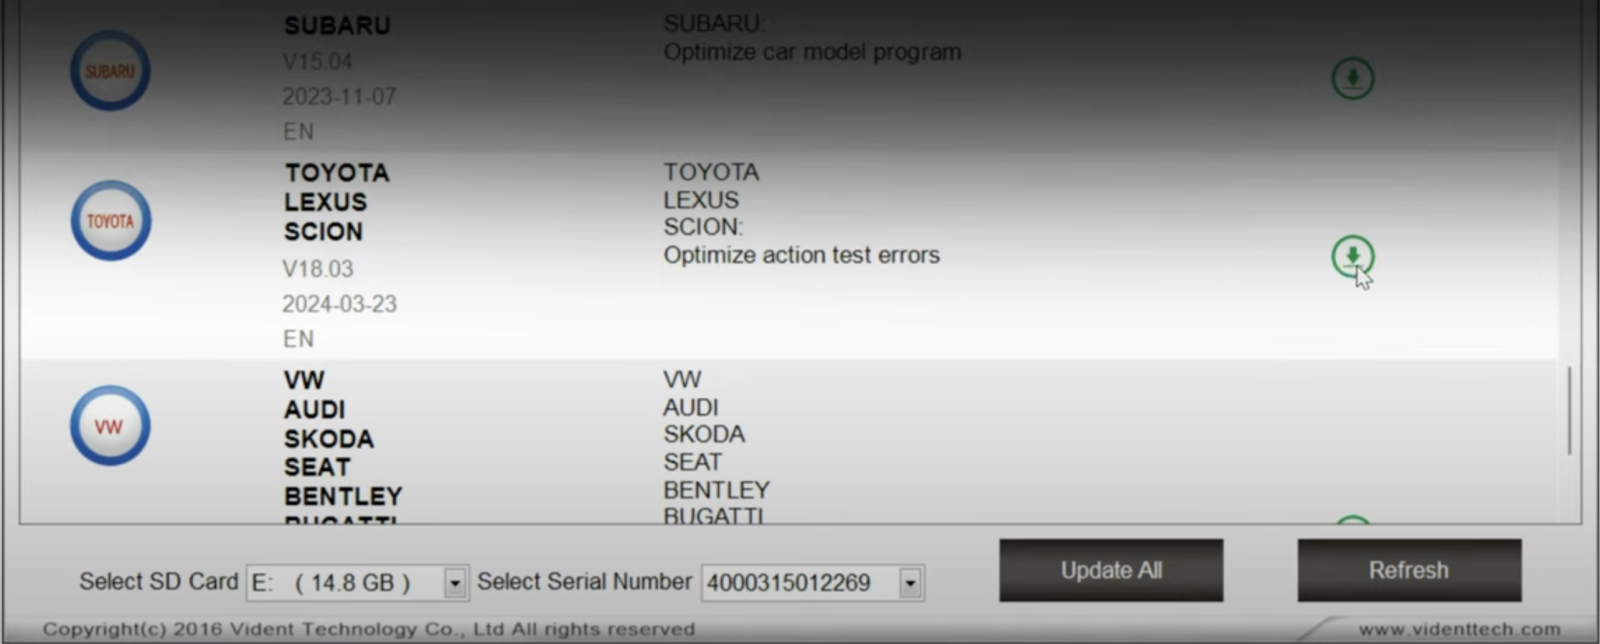
6. Insert SD Card Back Into i400AU
Once this has downloaded you can log out of iScanZilla, eject the USB and insert the SD card back into the scan tool.
7. Plug i400AU Into The Vehicle OBD Port
If download successfully you should see the chosen car make that you download on the home screen of the scan tool like below with the Toyota software
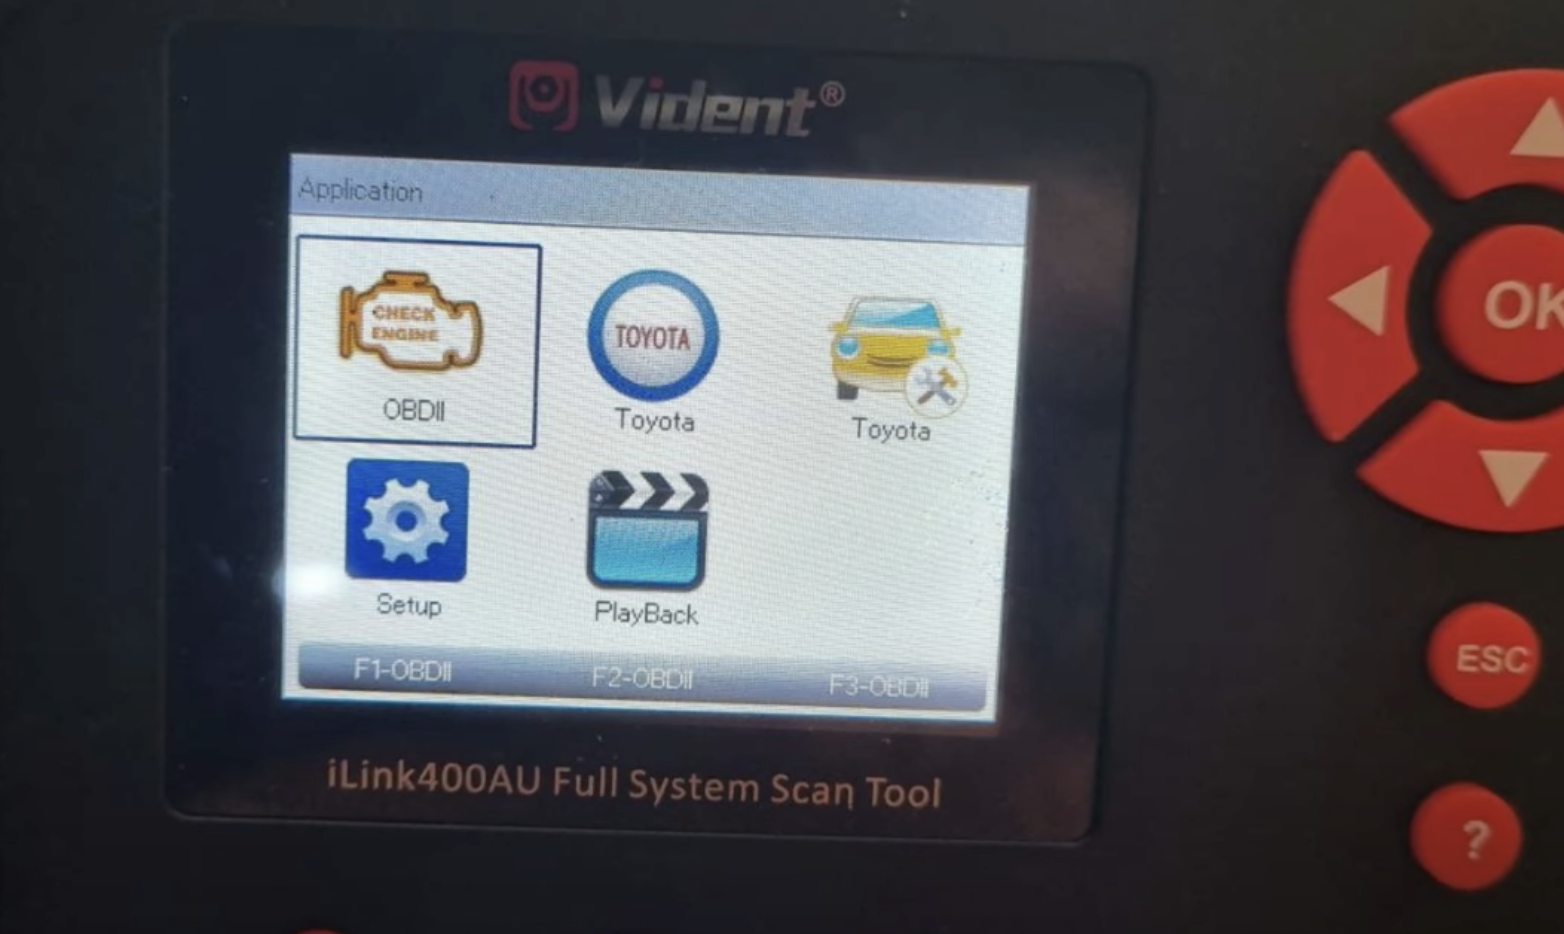
Step by Step Guide - Video Version
Check out our step by step video version guide here:
Vident iLink400AU FAQS
Check out our frequently asked questions on the Vident iLink400AU


